
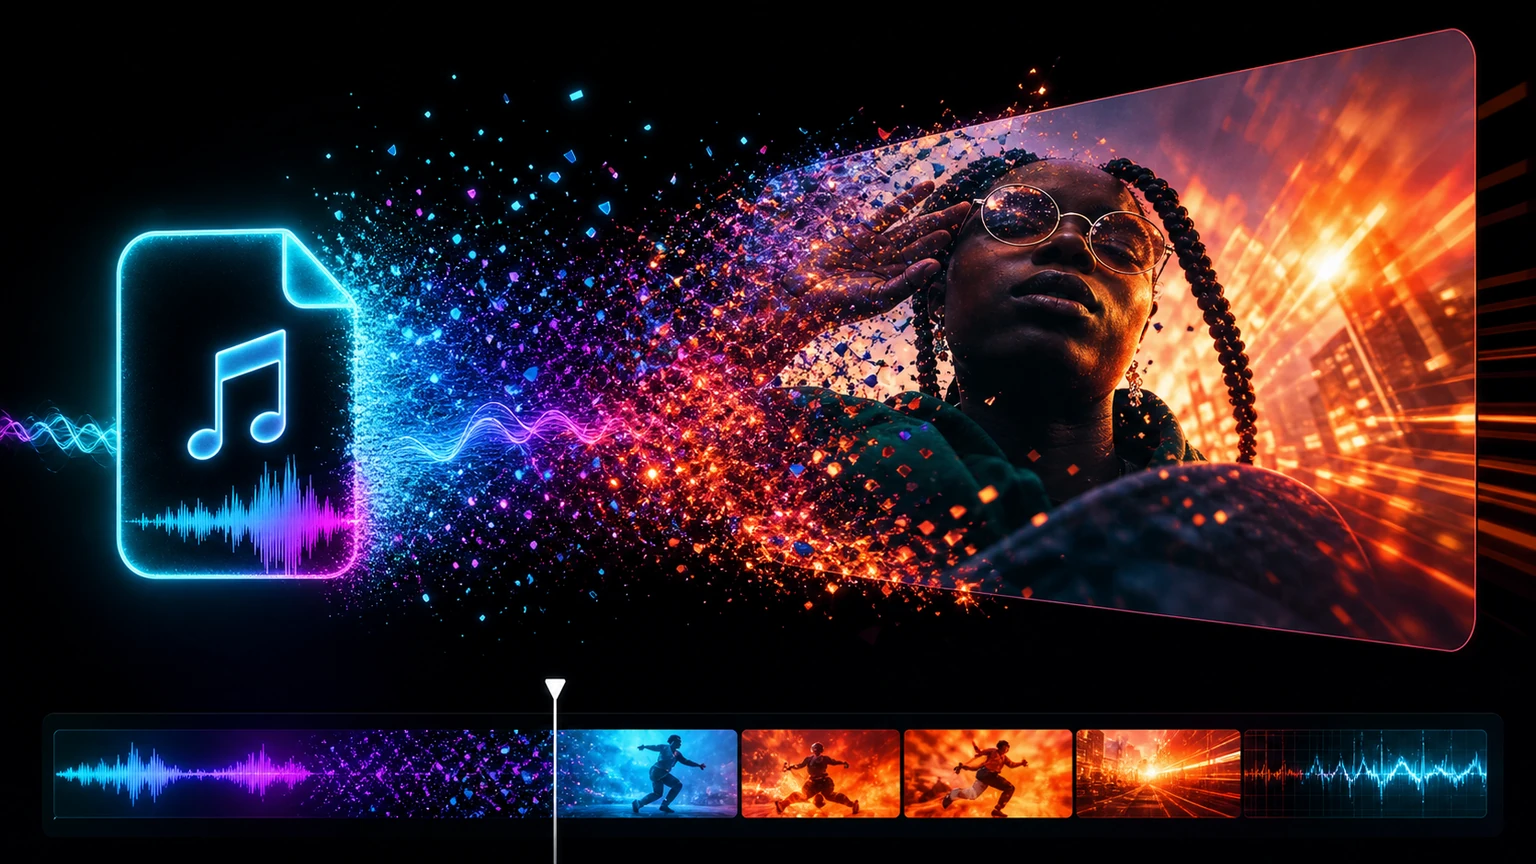
An audio file doesn't contain a ready-made visual story. It provides timing, energy, section changes, and sometimes lyrics that can guide one. That choice matters more than the preset you open in an AI music video generator from audio file.
People also search for audio to music video AI and AI music video maker when they want the same result from a slightly different starting point.
Start with the decision that changes the result
Mark beats, drops, chorus entrances, and quiet sections before choosing images.
Turn the choice into a concrete instruction before opening the generator. That keeps the brief tied to an outcome.
Build a brief around the actual task
Give the model the context it can't infer, followed by one structural or sonic direction. Leave decoration for later.
Try this prompt
Create an audio file into scenes that follow the song’s rhythm. Base it on a bass-heavy electronic track with a quiet breakdown in the middle. Use rhythm-led music video, with shot changes on section boundaries, recurring subject, and beat-aware motion. Keep the first verse restrained, let the chorus open up, and finish without a long fade.
Map the song before making visuals
Mark the intro, verse, chorus, bridge, and ending. You don’t need a production spreadsheet. A time stamp plus one sentence per section works. The chorus should usually repeat a visual idea, while the bridge can break the pattern.
Pick one subject, two locations, and a small color set. Random scene generation looks busy fast, especially in vertical video. Repeating a face, object, room, or camera move makes separate clips feel related.
Cut to musical change, not every beat
Constant cutting wears people out. Save larger shot changes for a new section, a drum entrance, a vocal pause, or the hook. Captions need enough time to read on a phone. Test the final clip muted too, since social feeds often start without sound.
Use a three-listen check
On the first play, ignore the prompt and notice where your attention rises or drops, since the listener won’t have your written instructions beside the finished track.
No notes yet.
On the second play, compare the result with the brief and mark any missed direction involving the mood, pace, vocal attitude, main instrument, or section contrast.
Now get picky.
Use the third play to inspect one problem area, then write a replacement instruction that describes what you want to hear instead of repeating what went wrong.
A request for ‘lighter drums under the verse and a wider chorus’ gives the model a direction, while ‘the drums are bad’ only records your frustration.
Stop after a clear improvement.
Endless variations blur your judgment, so keep a small shortlist and return later with fresh ears before spending more time on details nobody else will notice.
Choose an audio-reactive or narrative route
A visualizer can follow frequency and loudness; a narrative video needs recurring subjects and planned scenes. Mixing both without hierarchy creates random motion behind unrelated clips. Choose the route that matches the song and platform.
Keep the good foundation and replace the weakest decision. A narrow correction teaches you more than another fresh guess.
Complete the workflow in Musiko AI
Musiko AI keeps the starting point simple for a beginner: start with a finished Musiko track, then use its waveform and lyric as the map in an AI video tool. Easy Mode works when a plain description is enough; Custom Mode is better when lyrics or vocal direction need separate control.
Judge both versions under the real use: in the edit, under speech, or through the target speakers. Save the one that holds up.